Note – These instructions assume that the BCX Change Password Tool is installed and working on your
system.
This program generates an audit log of the usage of the BCX Change Password Tool,
and can be installed on any member server (2003/2003R2/2008/2008R2/2012) in the domain.
We recommend using the server that BCX Change Password is installed on.
Please note if you use the Window’s firewall on the server please enable inbound traffic on port 9054 on all profiles.
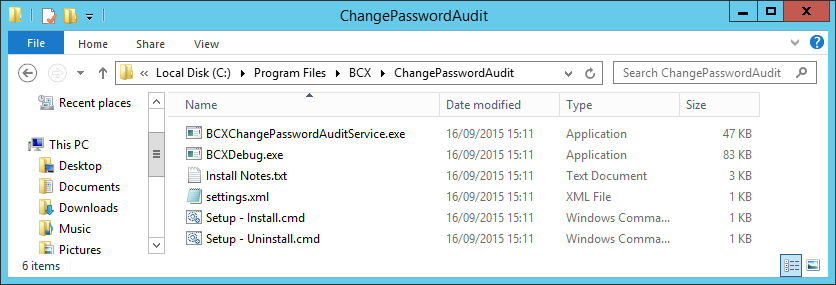
Within C:\Program Files\ create a BCX folder (if it doesn’t already exist) and within that create a folder
called ChangePasswordAudit.
Please use the same folder path for 32 bit or 64 bit operating systems.

So the path of this folder is C:\Program Files\BCX\ChangePasswordAudit\
Into this folder copy all the files from the zip file.

In the folder C:\Program Files\BCX\ChangePasswordAudit,
Run the Setup – Install.cmd (you may receive a security warning, press run).
At the prompt press any key.
On completion the following lines should now be displayed.

Pressing any key will close the window. When prompted click Yes to start the service in debug mode.
The debug window will display a few lines of text as the service starts up, the word “Ready” should be
displayed at the bottom.
This window can now be closed, press Yes when prompted to restart the
service in Normal mode to complete the install.
To configure BCX Change Password Audit,
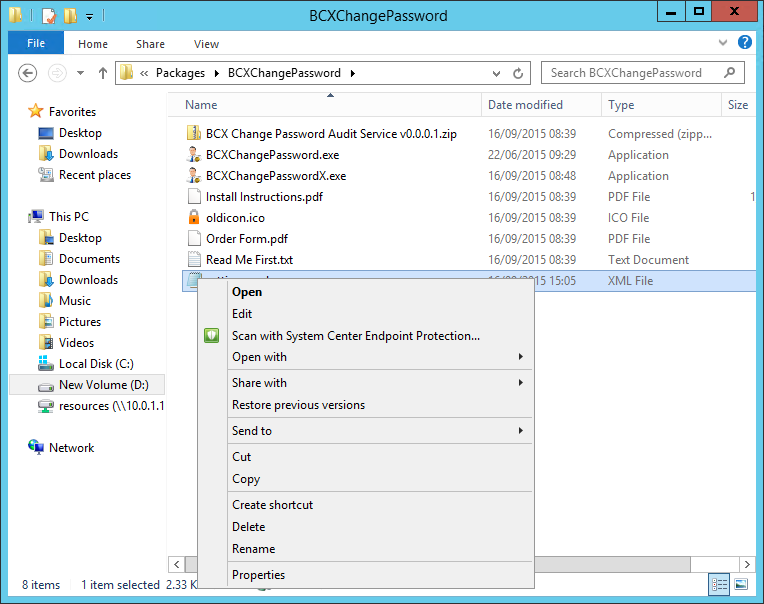
open the location of the BCXChangePassword.exe,
(This could be something like \\Server\Apps\BCXChangePassword\).
Right Click the settings.xml file and choose Edit

Scroll down through the file until you find the following lines:
- In here copy and paste your licence you received from
Burconix Ltd.

Next scroll down through the file until you find the following lines:
- In here type the NetBIOS name of the server you installed the
audit software on.

Once this is done all logs will be stored within the C:\Program Files\BCX\ChangePasswordAudit\LogData in
both txt and csv format.

 | Back |
|  | Change Password Tool |
|


